You’ve probably seen it happen. You search for a business on Facebook, maybe to check reviews, confirm it’s legit, or send a quick message, and either nothing shows up, or the page looks abandoned. No updates. No branding. No real presence. Now imagine that’s your business.
In this age and time, be it a small shop, a startup, or a growing brand, people still check Facebook before they buy, call, or trust you. A well-set-up Facebook Page isn’t just “another social account”, it’s your public storefront, credibility badge, customer service desk, and advertising hub all in one.
And here is the good news: creating one is straightforward. The better news is that doing it strategically makes all the difference.
In this guide, you will learn step-by-step how to create a Facebook Page for your business, and more importantly, how to set it up the right way so it helps attract customers, and not just exist online.
What Is a Facebook Business Page?
A Facebook Business Page (or simply a Facebook Page) is a public profile designed specifically for businesses, brands, and organizations. Unlike a personal profile, which represents an individual, a Page allows your business to interact with customers, showcase products or services, and post updates without revealing your personal account.
It’s also different from a Facebook Group, which is more of a community space for discussions and member engagement. A Page is public-facing, searchable, and optimized for marketing, advertising, and building credibility.
Why it matters: a well-set-up Facebook Page signals professionalism, builds trust, and gives potential customers a hub to find your contact info, reviews, updates, and offers, all in one place. Essentially, it’s your digital storefront on the world’s largest social network.
Requirements Before You Create a Facebook Page
Before diving into creating a Facebook Page, there are a few essentials to have ready.
- A Personal Facebook Profile: You don’t need a separate account for your business; your Page is linked to your profile, but your personal info won’t appear publicly.
- Business Name & Category: Decide on your official business name and the category that best describes your industry. This helps people find you and improves search visibility.
- Logo and Brand Assets: Prepare a high-quality profile picture (usually your logo) and a cover photo that represents your brand. Consistent visuals make your Page instantly recognizable.
- Contact Details: Have your phone number, email, website, and business address ready. These are crucial for customers to reach you directly from your Page.
Having these ready ensures the setup is smooth, professional, and sets the foundation for a page that actually attracts and engages customers.
Step-by-Step: How to Create a Facebook Business Page
Creating a Facebook Page for your business is more than just filling out a form; it’s setting up your online storefront, credibility badge, and customer connection hub all in one.
This section below will walk you through a step-by-step process to create your Facebook Business Page, covering everything from entering your business details to publishing your Page so it’s ready to attract customers. By following these steps carefully, you’ll not only have a live Page but a strong foundation for growth and engagement.
Step 1 – Go to the Page Creation Section
- Log in to your personal Facebook account.
- Navigate to facebook.com/pages/create.
- Click Get Started under “Business or Brand.”
Step 2 – Enter Business Details
- Type your business name exactly as you want it displayed.
- Select a category that best fits your business (e.g., Restaurant, Consulting, Retail).
- Add a short description to tell visitors what your business does.
Step 3 – Add Profile & Cover Photos
- Upload a profile picture, usually your logo, for instant brand recognition.
- Add a cover photo that represents your business visually. Think banner, product shot, or team image.
Step 4 – Customize Username (Vanity URL)
- Click Create @Username.
- Pick a short, memorable username that matches your business name for easy sharing (e.g., facebook.com/YourBusiness).
Step 5 – Add Contact Information & CTA Button
- Enter your phone number, email, website, and business address if applicable.
- Set up a call-to-action (CTA) button like “Contact Us,” “Shop Now,” or “Send Message” to drive interactions.
Step 6 – Publish Your Page
- Review all entered details for accuracy.
- Click Publish Page to make it live.
- Your Page is now visible to the public and ready for visitors.
What to Do Immediately After Creating Your Page
Once your Facebook Business Page is live, the work isn’t over; this is when you lay the foundation for visibility, engagement, and credibility. Here’s what to do immediately after creating your Page:
1. Complete the About Section: Fill in all relevant details in the About section, including your business description, address, website, and hours of operation. A complete About section helps customers understand what you do, boosts your search visibility, and adds credibility. Keep descriptions concise, clear, and keyword-friendly, so visitors instantly know your business value.
2. Add Your First 3 Posts: Before inviting anyone, populate your Page with at least three posts. These could be an introduction to your business, a product or service highlight, and a behind-the-scenes or team feature. Having content in place makes your Page look active and professional, reducing the “empty Page” effect that can turn potential customers away.
3. Invite Contacts: Start building your initial audience by inviting friends, colleagues, or existing customers to like your Page. Use the Facebook invite tools to send personalized messages or email invites. Early engagement signals activity to Facebook’s algorithm and helps your posts appear in newsfeeds organically.
4. Connect Instagram: If your business has an Instagram account, connect it to your Facebook Page via Meta Business Suite. This allows you to cross-post content, run ads across both platforms, and manage messages in one place, giving you a unified brand presence and saving time on content management.
5. Set Up Meta Business Suite: Meta Business Suite is a dashboard that helps you schedule posts, track insights, respond to messages, and manage ads. Setting it up immediately allows you to monitor engagement from day one, optimize posting times, and measure the effectiveness of your content strategy as your Page grows.
Take 30–60 minutes right after publishing your Page to complete these steps. Early organization ensures your Page starts strong, looks professional to visitors, and begins gathering engagement that will help with algorithm visibility.
Facebook Page vs Facebook Group – Which Should You Use?
Not sure whether your business should have a Facebook Page or a Facebook Group? While both are valuable, they serve different purposes. Here’s a quick comparison to help you decide:
Quick Comparison: Facebook Page vs. Facebook Group
| Feature | Facebook Page | Facebook Group |
| Purpose | Public presence for your brand, products, or services. | Community engagement and discussions around topics, interests, or brands. |
| Visibility | Fully public; discoverable via search engines (SEO friendly). | Can be Public, Private, or Secret; visibility depends on settings. |
| Audience Interaction | Likes, follows, comments; business-led communication. | Members can post, comment, and interact freely; community-led communication. |
| Content Control | Admin controls all posts; focused on professional branding. | Admins moderate, but members generate much of the content. |
| Marketing & Ads | Supports Facebook Ads, CTA buttons, and detailed analytics. | Limited direct advertising; relies primarily on organic engagement. |
| Insights & Analytics | Access to Page Insights for reach, engagement, and demographics. | Basic Group insights; limited data compared to Pages. |
| Best Use Case | Promoting your business, building credibility, and lead generation. | Building a loyal community, fostering discussion, and peer-to-peer support. |
Common Mistakes When Opening a Facebook Page:
Creating a Facebook Page is simple, but even small missteps can hurt your business’s credibility and growth. Here are the most common mistakes to watch out for:
- Using Your Personal Profile Instead of a Page: Many beginners think their personal profile is enough for business. While you can promote posts, a personal profile doesn’t give you access to business tools, analytics, or advertising. A proper Page ensures you can track performance and present your brand professionally.
- Ignoring Branding Consistency: Your logo, cover photo, colors, and tone should match your brand identity. Inconsistent branding confuses customers and undermines trust. Think of your Page as your digital storefront; first impressions matter.
- No Posting Strategy: Posting once in a while isn’t enough. Pages that don’t have a consistent content plan fail to engage audiences and lose visibility. A posting schedule, even 2–3 times a week, keeps your Page active and signals relevance to Facebook’s algorithm.
- Skipping the CTA Button: Facebook lets you add a call-to-action (CTA) button like Shop Now, Contact Us, or Send Message. Missing this step means lost opportunities for leads, sales, or customer inquiries. Your CTA is a direct path for visitors to take meaningful action.
Avoid these pitfalls from the start. A well-set-up Page with consistent branding, a content plan, and clear CTAs sets the foundation for credibility, growth, and customer trust.
How to Grow Your Facebook Page After Creation
Creating your Facebook Page is just the beginning. To turn it into a powerful marketing asset, you need a strategy that drives visibility, engagement, and growth. Here’s how to approach it:
1. Organic Posting Strategy:
Consistent content is key. Share a mix of posts that educate, entertain, and inspire your audience. Include visuals, videos, and carousel posts to keep your feed dynamic. Use your Page Insights to identify which types of content resonate most with your followers.
2. Engagement Tactics:
Don’t just post and forget. Reply promptly to comments and messages, ask questions in posts, run polls, and encourage user-generated content. Active engagement signals to Facebook that your Page is relevant and boosts organic reach.
3. Paid Ads:
Facebook Ads allow you to target specific audiences based on interests, demographics, and behaviors. Start with small, highly-targeted campaigns to test what works, then scale. Boosting important posts can also increase visibility to potential customers who haven’t discovered your Page yet.
4. Analytics Tracking:
Track performance using Page Insights and Meta Business Suite. Metrics like reach, engagement, clicks, and follower growth help you understand what works and where to adjust your strategy. Use these insights to continuously optimize your content and campaigns.
Growth Bridge Insight
Creating your Page is foundational, but sustainable growth requires structure, content consistency, and data-driven decision-making. Tools like SocialBoost Pro can help streamline posting, boost followers, increase engagement, and more, making it easier to maintain steady growth without manual guesswork.
FAQs
1. How do I create a Facebook business page?
Log in to your personal Facebook account and navigate to the Page creation section at facebook.com/pages/create. Enter your business name, choose a relevant category, and write a short description. Upload a profile picture (typically your logo) and a cover photo that represents your brand. Add contact details, website link, business hours, and location if applicable. Customize your username (vanity URL), set up a call-to-action button, and publish your page.
2. Can I create a Facebook page without a personal account?
No. Facebook requires a personal profile to create and manage a business page. However, your personal information is never displayed publicly on the page, keeping your profile private while the Page represents your business.
3. Is creating a Facebook business page free?
Yes, creating and publishing a Facebook Page is completely free. Costs only arise if you choose to run ads, boost posts, or use paid promotion tools to grow your audience.
4. What is the difference between a Facebook page and a group?
A Facebook Page is a public-facing profile for a business, brand, or organization designed to share updates, promote products, and engage customers. A Facebook Group is a private or public community for discussions, member engagement, and shared interests. Pages are for marketing and credibility, Groups are for interaction and community building.
5. How do I choose the right category for my Facebook page?
Select a category that accurately reflects your business type, as it determines discoverability in searches and unlocks recommended features, such as service listings, appointment booking, or shop options. You can refine your category later if your business evolves.
6. How long does it take to set up a Facebook page?
Technically, you can create a Page in under 10 minutes by filling in basic details. However, proper optimization, including profile and cover photos, contact info, CTA buttons, and first posts, may take a few hours to ensure your Page is launch-ready and attractive to potential customers.
7. Can I change my Facebook page name later?
Yes, you can request a Page name change through the settings. Changes are subject to Facebook’s review process and policies, which may require approval before the new name is applied. Frequent or drastic changes may be restricted to maintain consistency and trust.
Final Takeaway
Creating a Facebook Page is simple, but making it work for your business requires more than just setup. Optimizing your Page with branding, contact info, and a strong first impression is strategic; it sets the foundation for credibility and customer trust.
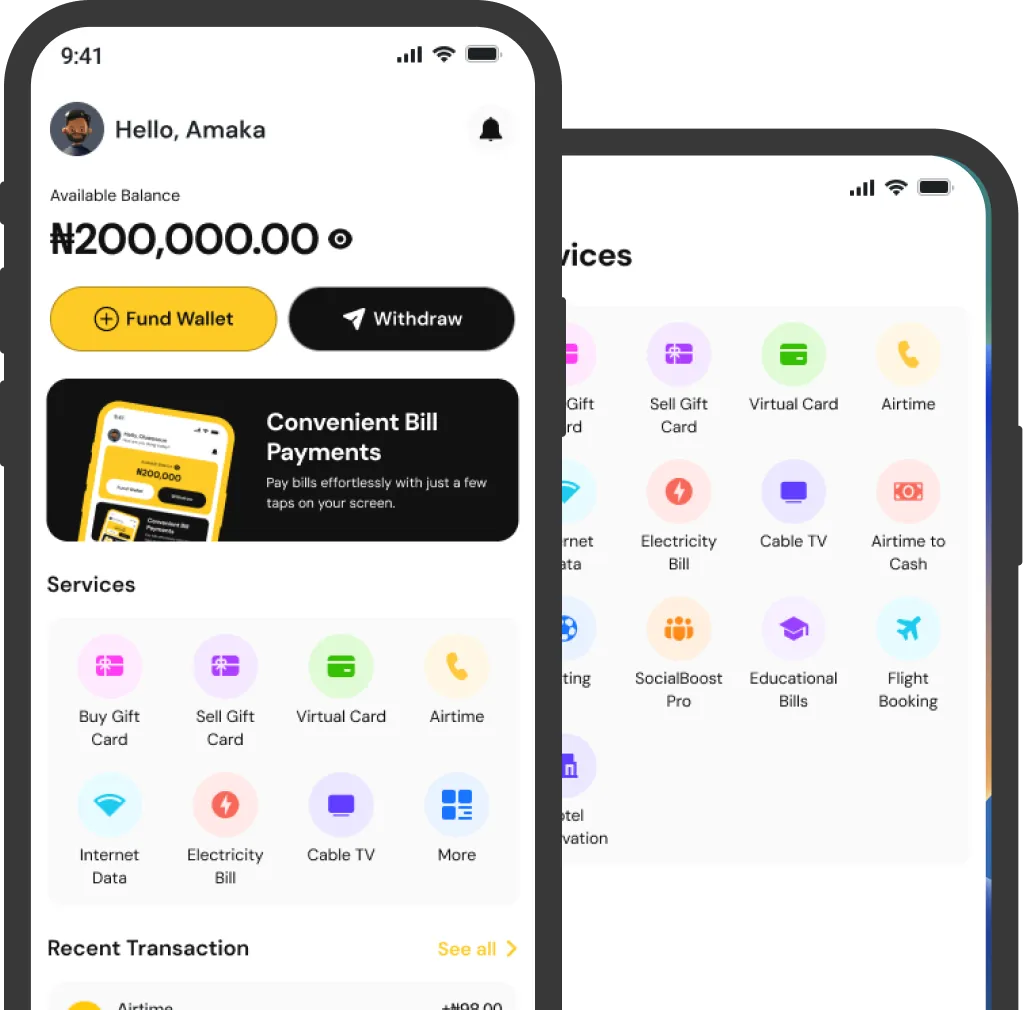
Growing your Page, however, is systematic: consistent content, active engagement, and performance tracking turn a basic Page into a real marketing asset. This is where SnappyPay’s SocialBoost Pro comes in.
With SocialBoost Pro (Only available on the web), you can grow your followers, improve your engagements, and win on Facebook through ethical and Facebook-acceptable standards. Use SnappyPay’s SocialBoost Pro today!