Instagram Live has become a powerful tool for creators, influencers, and businesses seeking to engage their audiences in real time.
Unlike pre-recorded content, going live allows you to connect instantly, build trust, and even monetize your efforts. In this guide, we’ll show you how to go live on Instagram step by step, share expert strategies to boost engagement, and reveal monetization opportunities for creators in 2026.
Go Live on Instagram (Quick Steps)
- Open Instagram and swipe right to access the Stories camera.
- Select the Live option at the bottom of the screen.
- Add a title, adjust audience settings, then tap Live to start broadcasting.
- Invite guests using Live Rooms.
- After ending, share a replay to your profile or download the video.
- Stable internet is essential for smooth streaming.
- Creators may monetize via badges and subscriptions (if eligible).
What Is Instagram Live?
Instagram Live is a real-time video broadcasting feature inside the Instagram app that allows creators, brands, and businesses to stream directly to their audience. Unlike pre-recorded posts or Reels, Live enables instant interaction through comments, reactions, Q&A tools, pinned messages, and multi-guest streaming.
Because it operates within the Stories camera interface, going live is simple, but its impact can be powerful. When you start a live session, followers typically receive a notification, which leads to immediate visibility. After the broadcast ends, you can save a replay, download the video, or repurpose clips into other content formats.
Feature Overview
Instagram Live includes several built-in tools designed to maximize engagement:
1. Live Rooms: Invite up to three guests to join your broadcast for interviews, collaborations, or co-hosted sessions.
2. Comment Controls & Moderation Tools: Filter offensive comments, assign moderators, or limit who can comment.
3. Pinned Comments: Highlight key messages, links, or offers during the stream.
4. Live Scheduling: Announce your live session in advance to build anticipation.
5. Live Replay: Save your session so followers who missed it can watch later.
6. Monetization Features: Eligible creators can earn through badges and subscriptions.
These features transform Instagram Live from a simple broadcast tool into a full-scale engagement and monetization channel.
Who Should Use Instagram Live?
Instagram Live is ideal for:
1. Content creators who want to deepen audience relationships
2. Influencers launching products or hosting Q&A sessions
3. Small business owners showcasing products or running live demos
4. Coaches and educators offering live trainings
5. Social media managers running community engagement campaigns
If your goal is to build trust, drive conversations, or convert followers into customers, Live should be part of your strategy.
Benefits for Creators and Businesses
Instagram Live offers unique advantages:
1. Real-Time Engagement
Live interactions increase comments, reactions, and watch time, which are strong signals to the platform’s algorithm.
2. Stronger Audience Trust
Going live feels unfiltered and authentic. This builds credibility faster than edited content.
3. Increased Reach Through Notifications
Followers are alerted when you go live, helping you capture attention instantly.
4. Direct Monetization Opportunities
Eligible creators can earn from badges, subscriptions, affiliate promotions, and brand partnerships during live sessions.
5. Content Repurposing Power
One live session can be converted into multiple pieces of content: short clips, testimonials, Reels, or educational snippets.
How to Go Live on Instagram (Step-by-Step)
If you’re confused about how to go live on Instagram, follow these steps below:
1. Open the Instagram App
Make sure your app is updated to the latest version. An outdated app may hide the Live option or cause streaming issues.
2. Swipe Right to Access the Stories Camera
From your home feed, swipe right (or tap the “+” icon and select Story). This opens the Stories camera interface, where Live is located.
3. Select “Live” at the Bottom of the Screen
Scroll through the camera options (Post, Story, Reel) and choose Live. The app will prepare your camera for broadcasting.
4. Add a Title to Your Live Session
Tap the title icon to describe what your live stream is about. This increases click-throughs, helps viewers understand the topic instantly, and improves retention.
How to Grow on Instagram in 2026 – Live Q&A
This is an example of a topic you could use when going live on Instagram. Hosting a live Q&A session allows creators and businesses to answer audience questions in real time while sharing valuable growth strategies.
5. Adjust Your Settings Before Going Live
Before tapping the button, review your settings:
- Choose your audience (public or close friends)
- Enable moderation tools
- Assign a moderator if needed
- Test your connection strength
- A strong Wi-Fi connection is recommended for stable streaming.
6. Tap the “Go Live” Button
Press the Live button to start broadcasting. Instagram will notify many of your followers that you’ve started a live session. You are now officially live.
7. Invite Guests (Optional)
Use the Live Rooms feature to add up to three guests.
This is ideal for interviews, product collaborations, expert panels, and influencer cross-promotion.
Adding guests can significantly increase reach since their followers may also receive notifications.
8. Engage During the Broadcast
- Greet viewers by name.
- Pin important comments.
- Respond to questions in real time.
- Remind viewers what the session is about.
The first 30–60 seconds are critical for retention.
9. End the Live and Share the Replay
When you’re finished,
- Tap End.
- Choose to share the replay to your profile.
- Download the video for repurposing.
- Clip highlights into Reels or Stories.
Saving your replay allows followers who missed it to watch later.
Instagram Live Settings You Should Know
Before you start streaming, understanding your Instagram Live settings can improve professionalism, safety, and engagement. These tools help you control who watches, how they interact, and how well your session performs.
Here are the most important settings every creator should use:
1. Audience Selection
Instagram allows you to control who can view your live broadcast.
- Public accounts: Anyone can join your live.
- Private accounts: Only approved followers can view.
- Close Friends list: Limit your live to a selected group for exclusive sessions.
This is especially useful for subscriber-only lives, Beta product launches, and VIP community sessions. Choosing the right audience ensures your content reaches the intended viewers without distractions.
2. Moderation Tools
Live sessions can attract spam or disruptive comments. Instagram provides built-in moderation features to maintain a safe environment.
With the moderation tools, you can assign a moderator to manage comments during the live, block or remove viewers instantly, and automatically filter offensive words. If you’re hosting a large audience, assigning a moderator is highly recommended to keep the session focused and professional.
3. Comments Control
Before or during your live, you can:
- Turn comments off completely
- Limit comments to followers only
- Pin important comments (such as links, offers, or topic focus)
- Highlight viewer questions
Strategic comment control improves clarity and reduces chaos in high-traffic sessions.
4. Live Scheduling Feature
One of the most underused tools is Instagram’s live scheduling feature.
Instead of going live spontaneously, you can:
- Schedule your live in advance
- Display a countdown reminder
- Allow followers to opt in for notifications
This increases anticipation and initial viewer spikes, and helps algorithm visibility.
Creators who schedule lives typically see stronger engagement compared to unannounced broadcasts.
How to Monetize Instagram Live
Going live is powerful for engagement, but it can also generate income when used strategically. While monetization eligibility depends on account status and region, creators with a strong community can turn Instagram Live into a consistent revenue channel.
Here are the primary ways to monetize your live sessions:
1. Earn Through Live Badges
With Instagram Badges, viewers can purchase badges during your live stream. Badges work best when you actively acknowledge supporters during the session and provide value through education, entertainment, and exclusive insights.
It is important to note that not all accounts are automatically eligible. You must meet platform requirements and follow monetization policies.
2. Offer Exclusive Content via Subscriptions
Instagram Subscriptions allow creators to offer paid, recurring membership access. Subscribers may receive exclusive live sessions, subscriber-only badges, and behind-the-scenes access
This model works particularly well for coaches, educators, niche influencers, and community-driven creators.
Instead of relying on one-time payments, subscriptions create a predictable monthly income.
3. Partner with Brands for Sponsored Lives
Brand collaborations are one of the most profitable ways to monetize Instagram Live.
You can:
- Host sponsored product demos
- Conduct live reviews
- Launch products with brand partners
- Run live giveaways
Because Live is real-time and interactive, it often converts better than static posts. Brands value live engagement because viewers can ask questions and receive instant answers.
4. Promote Affiliate Products During Live Sessions
Affiliate marketing is another powerful monetization strategy.
During your live session, you can:
- Share a discount code
- Pin a comment with your affiliate link
- Direct viewers to your bio link
- Demonstrate products in real time
Live demonstrations increase credibility and significantly improve conversion rates compared to simple link sharing.
As a creator, you can also repurpose your content across other platforms and earn money there. SnappyPay makes this process seamless with our expert tips on how to make money on Instagram, TikTok, YouTube, and Twitter.
How to Increase Views on Instagram Live
Going live is easy. However, getting people to show up and stay requires a functional strategy. If you want higher attendance, stronger engagement, and better replay performance, you need to treat every live session like an event.
Here’s how to increase views on your Instagram Live and maximize impact:
1. Promote Before You Go Live
Never rely on the automatic notification alone. Start promoting your live at least 24–48 hours in advance:
- Post countdown stickers in Stories
- Share teaser clips about what viewers will learn
- Create a feed post announcing the date and time
- Use the live scheduling feature so followers can opt in for reminders
The more anticipation you build, the stronger your initial viewer spike, and this ultimately improves algorithm visibility.
2. Choose the Best Time to Go Live
Check your analytics to see when your audience is most active. If you have a creator or business profile, use your insights to identify:
- Peak follower activity hours
- Days with the highest engagement
- Time zones of your audience
3. Start with a Strong Opening Hook (First 30 Seconds Matter)
The first 30–60 seconds determine retention. Immediately state what viewers will gain and tease a key insight.
Example:
“Today I’m showing you the exact strategy that doubled my engagement in 30 days, and I’ll answer your questions live.”
Hooks increase watch time, which ultimately boosts performance.
4. Engage Viewers by Name
Live sessions thrive on interaction. As people join, greet them by name, ask where they’re watching from, and respond to comments in real time. When viewers feel seen, they stay longer. Longer watch times improve reach and replay value.
5. Save and Repurpose Your Live Content
Your live stream shouldn’t disappear after it ends.
After broadcasting:
- Share the replay to your profile
- Clip highlights into short-form videos
- Turn key moments into Reels
- Extract quotes for carousel posts
- Use snippets for email marketing
One live session can produce 5–10 additional pieces of content. Repurposing extends lifespan, attracts new viewers, and increases total impressions.
To better understand how to build a strong social media presence, explore our guide on how to build a strong social media presence in 2026.
Common Instagram Live Problems and Fixes
Even experienced creators face technical issues when they go live. The good news is that most Instagram Live problems are easy to fix if you know what to check.
Here are the most common issues and how to solve them quickly:
1. “Live” Option Not Showing
If you can’t see the Live option inside the Stories camera, check the following:
- Update the app to the latest version
- Log out and log back in
- Clear the app cache (Android)
- Restart your device
- Confirm your account hasn’t violated platform policies
In some cases, certain features roll out gradually. If your account is new or restricted, Live access may be temporarily limited.
2. Poor Internet Quality or Frequent Disconnections
A weak internet connection is the major reason live streams crash or buffer.
Fix it by:
- Switching to a stable Wi-Fi connection
- Moving closer to your router
- Avoiding crowded public networks
- Turning off background apps that use bandwidth
- Testing your upload speed before going live
Live streaming relies more on upload speed than download speed. If viewers report freezing or pixelation, your connection might be unstable.
If you need a reliable and affordable plug with incredible data deals and discounts across all Nigerian networks, try SnappyPay’s affordable data services.
3. Outdated App Causing Feature Errors
If your Live session won’t start or features like guest invites aren’t working, your app may be outdated.
Solution:
- Visit Google PlayStore or App Store
- Update Instagram
- Restart your device after updating
New updates often include bug fixes and performance improvements specifically for live streaming.
4. Audio or Video Lag
Lag can make your live session feel unprofessional and reduce viewer retention.
Quick fix:
- Close unnecessary apps
- Disable low power mode
- Use headphones or an external microphone
- Restart your phone before going live
If audio echoes during guest sessions, ensure only one device in the room has volume on.
Instagram Live vs Reels – Which Is Better?
Instagram Live vs Instagram Reels
| Feature | Instagram Live | Instagram Reels |
|---|---|---|
| Engagement | High, real-time | Moderate, algorithm-driven |
| Reach | Followers + notifications | Wider discovery potential |
| Monetization | Badges, subscriptions, partnerships | Sponsored content, Reels bonuses |
| Effort | Requires planning and live hosting | Can be pre-recorded and edited |
While Reels reach more viewers, Instagram Live builds community trust and direct interaction, which is invaluable for creators and small businesses.
FAQs
1. How do I go live on Instagram?
Open the Instagram app, swipe right to access the Stories camera, select “Live,” and tap the Live button to start broadcasting.
2. Why can’t I go live on Instagram?
You may need to update the app, verify your account status, or ensure you meet platform eligibility requirements.
3. Can you make money from Instagram Live?
Yes, eligible creators can earn through badges, subscriptions, and brand partnerships during live sessions.
4. How long can you stay live on Instagram?
Instagram Live sessions can last several hours, depending on platform limits at the time.
5. Can I add someone to my Instagram Live?
Yes, you can invite guests using the Live Rooms feature.
6. Does Instagram notify followers when you go live?
Yes, followers typically receive a notification when you start a live session.
7. Can I save my Instagram Live video?
Yes, after ending your broadcast, you can share the replay or download it.
Final Takeaway
Going live on Instagram is simple; however, building real momentum, growing your audience, and generating income from Live requires more than just pressing the button.
The creators who win with Instagram Live in 2026 follow a structured growth system. Structured growth systems help creators increase their reach and maximize the impact of live sessions.
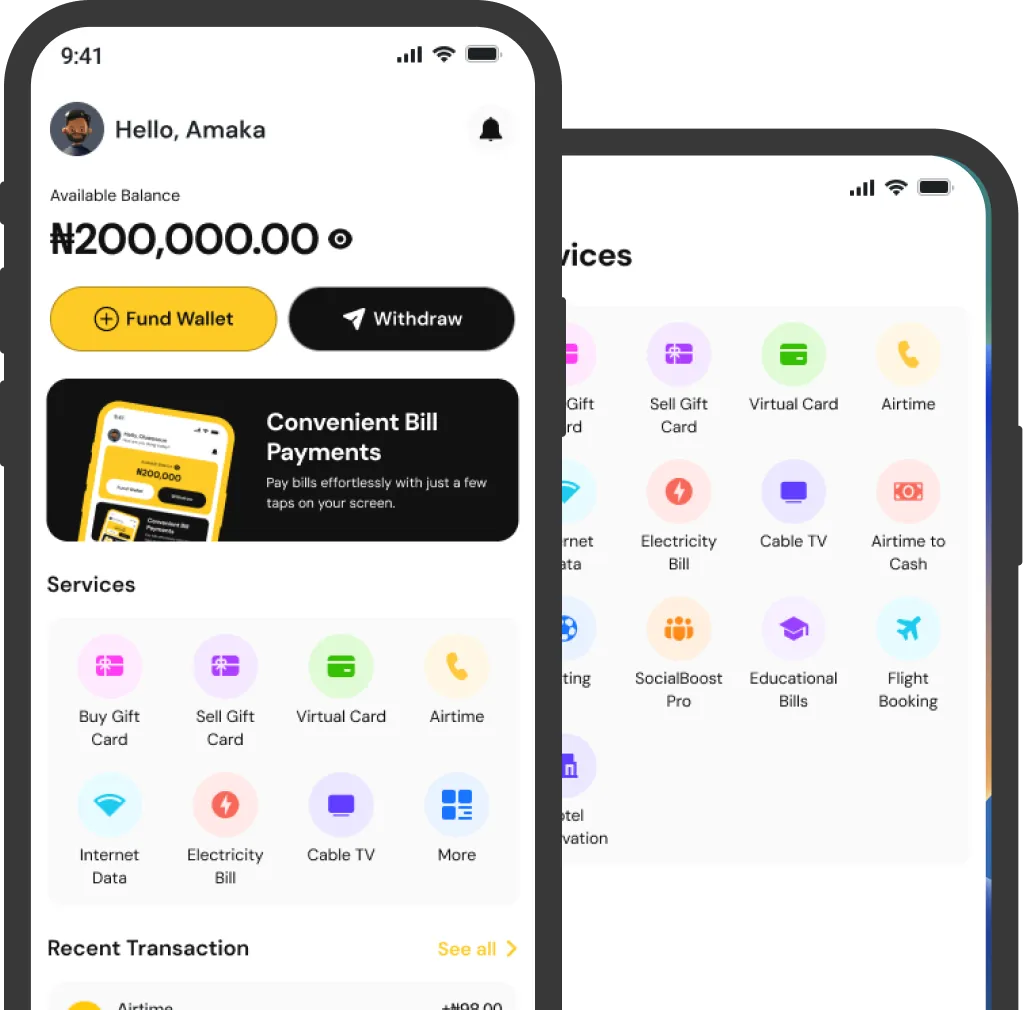
As a creator struggling with follower reach or real engagements, you can reach the right audience today with SnappyPay’s SocialBoost Pro, available only on the web.